Manage Teams and End User Groups
Return to Manage Infrastructure
ServicePRO teams allow you to group users together to not only simplify role assignment but provide the ability to set team ownership on a request.
Users with the “ServicePRO Administrator” role can add, update, or de-activate a team as needed.
Navigation
1. Navigate to the backstage menu by clicking on the ServicePRO icon.
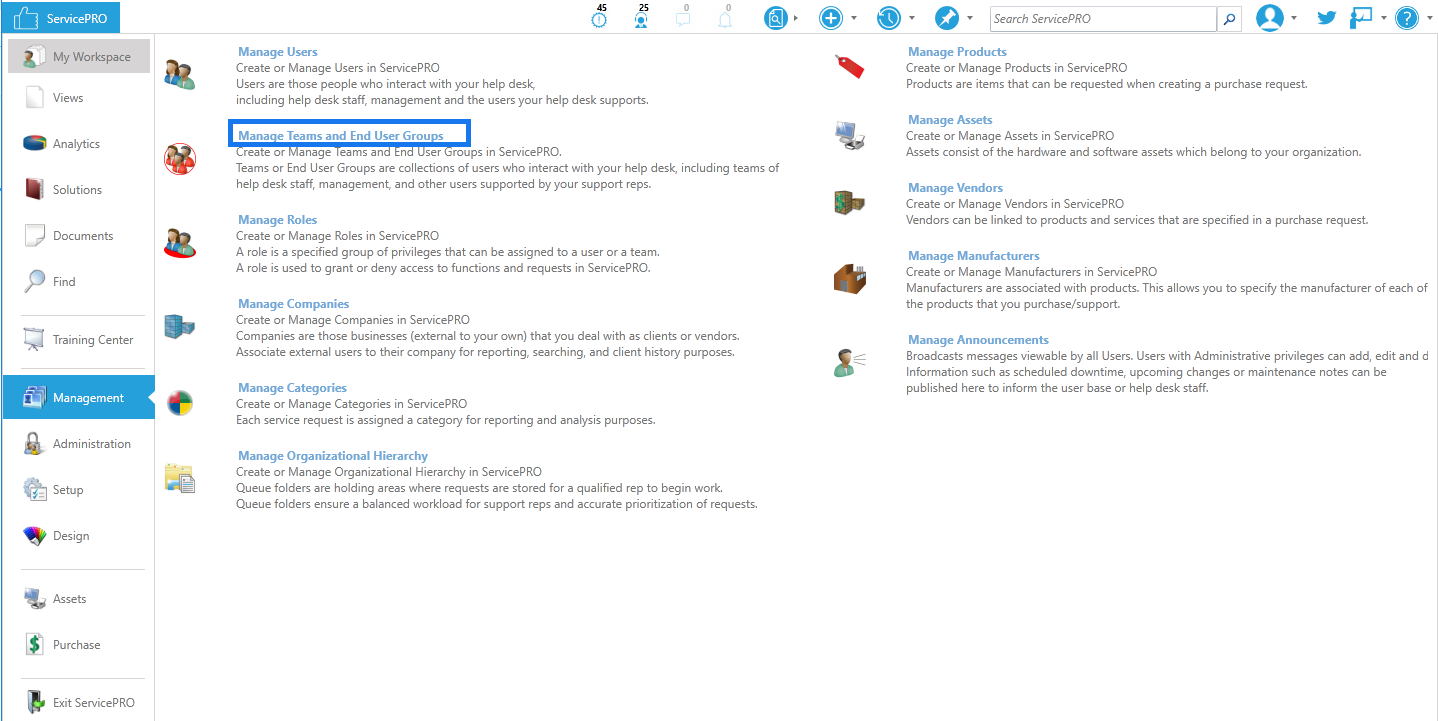
2. From the Management tab, click on the Manage Teams and End User Groups option.
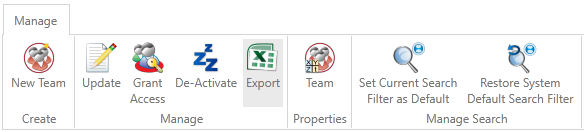
Ribbon Toolbar
Creating a New Team
Click on the New Team icon on the ribbon toolbar to manually add a team. The New Team window opens as below.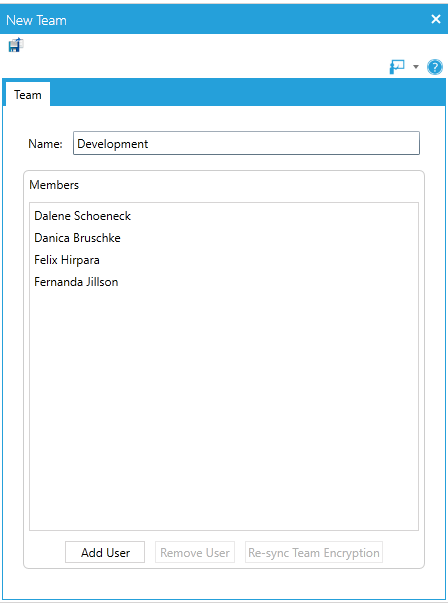
- In the Name field, enter the team’s name
- To add users to this team, click on the Add User button.
- This will open the "Manage Users" screen. From here you can select a user to add by double clicking on their name.
- In the Edit team screen, when a new member is added to an existing team "Re-sync Team Encryption" button will be enabled. if the administrator clicks on the “Re-sync Team Encryption” button, all the attachments that are encrypted for this team will be encrypted for the newly added team member, after validating the passphrase for the current user
- To remove a user from this team, highlight the member you wish to remove and click on the Remove User button. If any attachment has been encrypted for this team, while saving the team, the removed user will be automatically removed from the encrypted attachment. If the user had been directly added to the encryption list, then that user will still be able to access the encrypted attachment.
It is not required to click on “Re-sync Team Encryption” button, while removing a member from the team as it will be taken care of automatically when the team is saved.
Note: “Re-sync Team Encryption” button will be enabled only for users with ServicePRO Administrator role and also, designated as a trustee in Encryption Settings.
When a team is deleted and saved, and if any attachment had been encrypted for this team earlier, then
the team (and hence its member users) will be removed from the encrypted attachments, that were encrypted for this team.
Saving the Team
Click the Save icon in the top left Toolbar to save the new team. A prompt will indicate that the team has been created. It will ask if you want to create another team.Searching and Managing Existing Teams
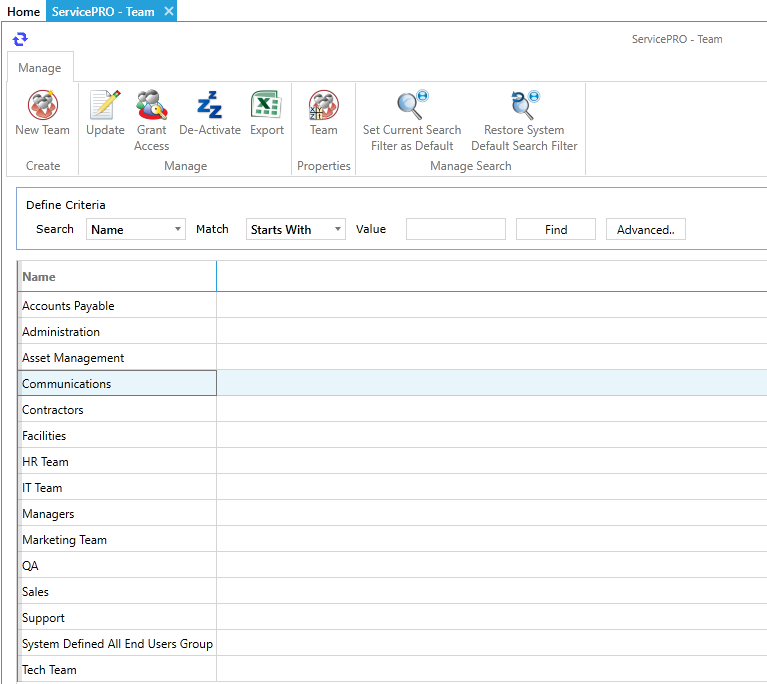
For example, entering: Search: “Name” Match: “Contains” Value: “Admin” tells the system to search for all teams whose names include the name “Admin.”
Select the team you need to update or modify. Users can single-click the team name and select any of the ribbon toolbar from the manage grouping: ‘Update’, ‘Grant Access’, ‘Deactivate’, and ‘Export’.
Update – This will allow you to update the team properties. You can add or remove users from the team.
Grant Access – This will allow you to assign permissions for this team. These permissions will be assigned to all members in the team. It is a good way to quickly assign similar permissions to a group of users. The details are available at the links below:
Permission Assignment (Professional)
Permission Assignment (Enterprise)
Deactivate – This will deactivate the team. The team will no longer be usable but can be re-activated if you need it in the future.
Export – This will export the listing of the teams from your search result to an excel worksheet. Double-clicking on that team’s name will open the team properties in a new tab.
Team Properties
The Team Properties view displays the team name and all the members of the team.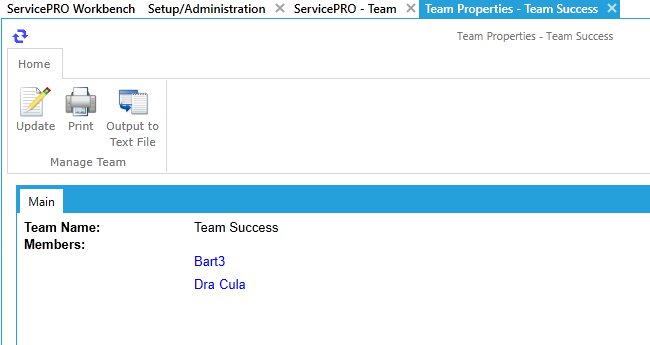
The Manage Team ribbon toolbar located at the top contains:
- Update – This will allow you to update the team.
- Print – This will print the team properties. You can either print or save the properties to a PDF document.
- Output to Text File – Will allow you to save the team properties to the text file.
Manage Search
Under Manage Search, select from the following options:Set Current Search Filter as Default – By default, name is the selected filter used to search for a ServicePRO object. By selecting this option, you can choose another filter as your default for future searches.
Restore System Default Search Filter – Set the search filter to the system default (name).